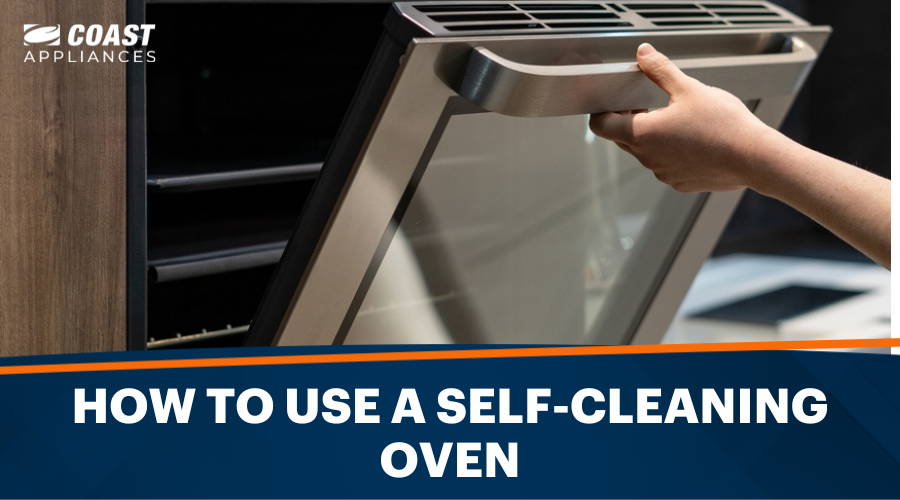
Are you tired of spending hours scrubbing your oven and inhaling harsh chemicals to remove stubborn food residue? Introducing the self-cleaning oven, a modern marvel that removes the hassle of a once-dreaded chore. With the self-cleaning function, this innovative appliance utilizes high heat to break down food residue and grease, leaving you with a spotless oven without elbow grease or harsh chemicals. This feature not only saves you effort but also contributes to a more hygienic cooking environment, providing you with peace of mind as you prepare your culinary delights.
Let’s explore how to use a self-cleaning oven safely and effectively, highlighting the advantages of this time-saving technology. In this article, we’ll cover:
Supplies to Use for Self-Cleaning Ovens
The beauty of using your oven’s self-cleaning function lies in its simplicity and minimalism. Unlike traditional oven cleaning methods, you won’t need an arsenal of supplies to get the job done. The self-cleaning feature requires only a few basic items to ensure a smooth and efficient cleaning process.
Supplies:
-
A soft cloth or sponge: Useful for wiping down the oven’s interior surfaces before and after the self-cleaning cycle.
-
Mild dish soap or vinegar: For cleaning the oven racks, which should be removed and washed separately. Mix equal parts water and white vinegar in a spray bottle and apply it to the racks before scrubbing with a non-abrasive brush.
-
A large tub or sink: To provide adequate space for soaking and cleaning the oven racks.
-
Oven-safe gloves: To protect your hands while handling hot oven racks and doors.
How to Use a Self-Cleaning Oven: Preparations
Before initiating the self-cleaning cycle, it’s essential to properly prepare your oven to ensure a safe and effective cleaning process. Follow these simple steps:
-
Remove oven racks: Take out all oven racks and any other accessories, such as pizza stones or oven thermometers. These items should be cleaned separately using mild dish soap and a non-abrasive brush.
-
Wipe down surfaces: Use a damp cloth or sponge to gently wipe down the oven’s interior surfaces, removing any loose crumbs, debris, or large food particles. This step helps prevent excessive smoke during the self-cleaning process.
-
Check the oven door seal: Inspect the oven door seal for any damage or wear. A damaged seal can result in heat loss and a less effective cleaning cycle.
-
Clear the area: Ensure that the area around your oven is free from flammable objects or materials. The self-cleaning function generates high heat, which can pose a risk if items are too close to the oven.
-
Ventilate the kitchen: Open windows and turn on the exhaust fan to provide proper ventilation during the self-cleaning process. This will help dissipate any odors or smoke produced during the cycle.
Once you’ve completed these preparations, you’re ready to begin the self-cleaning cycle, providing a thorough cleaning for your oven’s interior.
Step-by-Step Instructions for Using a Self-Cleaning Oven
Using a self-cleaning oven is a straightforward process that typically involves setting the oven to self-cleaning mode, locking the door, and allowing the cycle to run for the designated time. After the cycle is finished, you’ll need to let the oven cool down, inspect the interior, and replace the oven racks before resuming regular use. However, always refer to your oven’s manual and care guide for specific instructions tailored to your appliance.
Step 1: Start the self-cleaning cycle
Set your oven to self-cleaning mode, typically by selecting the appropriate setting on the control panel or turning a dedicated knob. The duration may vary depending on your oven’s model and the soil level, usually ranging from 2 to 4 hours. Lock the oven door if required, as some models may not automatically lock during the self-cleaning process.
Step 2: Wait for the cycle to complete
Allow your oven to run the entire self-cleaning cycle. Refrain from opening the door or interrupting the process, as the oven reaches extremely high temperatures to effectively break down food residue and grease. It is normal to notice some smoke or odor during this time, so ensure proper ventilation by keeping windows open and using an exhaust fan. Give your oven ample time to cool down once the cycle is complete, which may take an additional 1 to 2 hours. In most models, the oven door will remain locked during this cooling period for safety reasons.
Step 3: Inspect the oven interior
After the oven has cooled down, unlock and carefully open the door. Inspect the interior for any remaining ash or residue from the cleaning process. Use a damp cloth or sponge to gently wipe away these remnants, ensuring a clean and polished oven interior.
Step 4: Replace the oven racks
Finally, insert the cleaned oven racks back into the oven, ensuring they are properly positioned. Your self-cleaning oven is now ready for use, providing a pristine and efficient cooking space for your culinary creations.
Best Practices for Using Self-Cleaning Ovens
| Do | Don't |
| Remove aluminum foil or other heat-sensitive materials inside the oven before starting the self-cleaning cycle | Don't leave your home unattended during the self-cleaning cycle |
| Clean up major spills immediately to reduce the risk of excessive smoke | Don't use abrasive cleaners or scouring pads on the oven's interior |
| Follow your oven manufacturer's guidelines for the self-cleaning process | Don't attempt to force the oven door open during the self-cleaning or cooling process |
| Use the self-cleaning function regularly to minimize soil buildup | Don't ignore signs of wear or damage to the oven door seal |
How Long Does a Self-Cleaning Oven Take?
The duration of a self-cleaning oven cycle can vary depending on the specific model and the soil level present in the oven. Generally, self-cleaning cycles can be categorized into two types: standard and quick cycles.
Standard high-heat self-cleaning cycles typically last between 3 to 5 hours, with the oven reaching temperatures of around 880 to 900 degrees Fahrenheit (470 to 480 degrees Celsius). This high heat is necessary to effectively break down stubborn food residues and grease, leaving your oven’s interior spotless. The standard cycle is ideal for ovens with a significant grime buildup or when a more thorough cleaning is desired.
On the other hand, quick self-cleaning cycles, also known as “steam cleaning” or “light cleaning” cycles, use lower temperatures and shorter duration, usually lasting around 1 hour. These cycles are designed to handle lighter soil and are perfect for maintaining your oven’s cleanliness with regular use. Quick cycles may require a small amount of water to be added to the oven before starting, as they often rely on steam to loosen debris.
Note: It’s essential to consult your oven’s manual to determine the appropriate self-cleaning cycle for your appliance and the specific duration recommended.
How Long Does It Take for the Oven to Cool Down After Self-Cleaning?
After completing the self-cleaning cycle, your oven will require a cooling-down period to ensure safety and prevent damage to the appliance. The cooling period can vary depending on the oven model and the intensity of the self-cleaning cycle. Typically, it takes between 1 to 2 hours for the oven to cool down sufficiently. Keep the oven door locked to prevent accidental burns or injuries. It’s essential to allow your oven to cool down completely before opening the door or using the oven for cooking, as the interior can remain extremely hot even after the cycle has finished.
Oven
Browse our full selection today.
FAQs on How to Use a Self-Cleaning Oven
How long does it take for an oven to self-clean?
The time it takes for an oven to self-clean depends on the specific model and the level of soil inside, with self-cleaning cycles generally ranging from 2 to 4 hours. Additionally, a 1 to 2-hour cooling-down period may be required after the cycle is complete.
Do you put anything in an oven before self-cleaning?
No. The self-cleaning function relies on high heat to break down food residues and grease without the need for additional cleaning agents.
Is it safe to leave a self-cleaning oven on?
It is generally safe to leave a self-cleaning oven on during the cleaning cycle, as it is designed to handle high temperatures. However, it’s important to monitor the process, ensure proper ventilation, and stay nearby to address any potential issues or excessive smoke.
What can you not do in a self-cleaning oven?
Do not use commercial oven cleaners or place aluminum foil or heat-sensitive materials inside during the self-cleaning cycle. Additionally, avoid interrupting the cleaning process or forcing the oven door open while the cycle is ongoing or during the cooling period.
Final Thoughts
Understanding and utilizing your self-cleaning oven’s capabilities can save you time and effort while maintaining a hygienic and efficient cooking space. Now that you know how to use and care for your self-cleaning oven, feel free to browse our extensive catalog of ovens and other top-quality appliances to find the perfect addition to your kitchen. Upgrade your cooking experience and discover the convenience of modern appliances today!