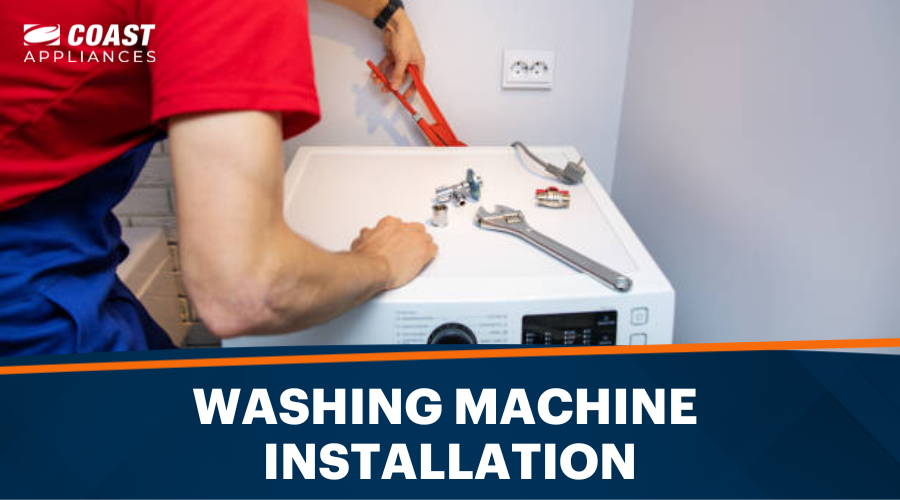
A washing machine has become an essential appliance in every home, making laundry chores a breeze. If you’re looking for a step-by-step guide to successfully hooking up and installing your new washer, you’ve come to the right place. In this article we’ll cover:
Washing Machine Pre-Installation Preparation
Before beginning the actual installation process, a little preparation goes a long way in ensuring a smooth and successful setup. Gather Tools and Materials:
Ensure you have the following tools ready for the installation:
-
Adjustable wrench: To tighten or loosen nuts of various sizes.
-
Pliers: For gripping and holding objects firmly.
-
Screwdriver: To tighten screws or bolts.
-
Level: To ensure your washing machine sits evenly on the floor, preventing vibrations and ensuring proper operation.
-
Measuring tape: For proper positioning.
-
Utility knife: For cutting and trimming hoses or materials during setup.
-
Bucket: To catch any water spillage during the disconnection of old water supply hoses.
Materials:
-
Water Supply Hoses – Check if those are provided by the manufacturer, or if you need to purchase them separately. They connect the washing machine to the water supply valves.
-
Drain Hose - Also check if included with the washing machine. Ensures effective drainage of used water during the wash cycle.
Additionally, refer to the manufacturer’s instructions for any specific materials or fittings required for your washing machine model.
Choosing the Right Location
Check if your preferred location has the necessary plumbing and electrical connections. Look for designated water supply and drain outlets and an electrical outlet. Most washers use a standard 120V electrical outlet. Contact a professional plumber to install the necessary hookups if none are there.
Inspect the existing connections if you’re upgrading and replacing an old washing machine. Verify the condition of the water supply and drain outlets, as well as the compatibility of the electrical outlet with the new washer. Make any necessary repairs or adjustments before proceeding with the installation.
Installing the Water Supply for Your Washing Machine
Now that you’ve chosen the right location, it’s time to connect the water supply to your washing machine.
Shut Off the Water and Disconnect Old Connections
Locate the water shut-off valve, and turn it clockwise until it’s fully closed. This prevents any water from flowing while you work.
If you’re upgrading and replacing an old washing machine, use pliers to loosen the nuts securing the old water supply hoses to the water supply valve and the washing machine’s inlet valve. Once loose, remove the hoses, keeping a bucket handy to catch any residual water.
Connecting the Water Supply Hoses
Next, attach the new water supply hoses to the washing machine’s inlet valve and the water supply valve. You can use standard rubber hoses or braided stainless steel hoses. The latter offer added durability and are less likely to burst, making them a popular choice.
To securely attach the hoses, match the labeled hot and cold-water hoses to the appropriate washing machine inlet valve. Hand-tighten the nuts onto the inlet valves, then use an adjustable wrench to give them an extra quarter turn. This ensures a tight and leak-free connection.
It is important to check the hoses periodically for wear and tear and replace them every five years or as the manufacturer recommends maintaining optimal performance and safety.
Connect the Drain Hose to Your Washer
Position the Drain Hose
Positioning the drain hose correctly helps avoid water siphoning or backflow issues. Here’s how to do it:
-
Height Placement: Ensure the drain hose is positioned at least 39 inches (1 meter) from the floor. This height prevents water from siphoning out of the washer during the drain cycle.
-
Distance from Drainpipe: Insert the drain hose into a drainpipe or laundry room standpipe, ensuring it goes in by at least 4 inches (10 cm). This insertion depth prevents the backflow of used water into the washer during drainage.
Secure the Drain Hose
Properly securing the drain hose is essential to prevent leaks and kinks. There are a few methods to achieve this:
-
Using Hose Clamps: Secure the drain hose to the drainpipe using hose clamps. Place the clamp around the hose, and tighten it with a screwdriver, ensuring a snug fit.
-
Using Zip Ties: Alternatively, use zip ties to fasten the drain hose to the drainpipe. Tighten the zip tie securely but not too tight to avoid damaging the hose.
-
Hooking to Standpipe: If you have a laundry room standpipe, securely hook the drain hose into it. This will prevent water from flowing back into the washer.
Inspect the drain hose regularly for any blockages or kinks that could hinder drainage.
Making Electrical Connections for Your Washing Machine
To safely connect your washing machine to the power supply, follow these essential steps for proper electrical setup:
Reviewing Electrical Requirements
Before proceeding with electrical connections, review the manufacturer’s guidelines for your
washing machine’s electrical requirements. Take note of the voltage and amperage specifications, as well as any additional electrical needs unique to your washer model.
Ensure your home’s electrical system can meet these requirements, and if necessary, consult a professional electrician to make any necessary adjustments or upgrades.
Reviewing Electrical Requirements
Before proceeding with electrical connections, review the manufacturer’s guidelines for your washing machine’s electrical requirements. Take note of the voltage and amperage specifications, as well as any additional electrical needs unique to your washer model.
Ensure your home’s electrical system can meet these requirements, and if necessary, consult a professional electrician to make any necessary adjustments or upgrades.
Wiring the Power Cord
-
Match Wire Colors: The power cord typically has colored wires—green (ground), white (neutral), and black or red (hot). Match the corresponding cables with the appropriate terminals on the washing machine.
-
Secure Connection: Strip a small portion of the insulation from the end of each wire, exposing the bare copper. Insert each wire into the corresponding terminal, and tighten the screws to secure the connection. Ensure the connections are tight and firm to avoid any potential electrical hazards.
-
Seek assistance: Consult a qualified electrician if you’re unsure about the wiring process or lack experience in electrical work. Don’t risk incorrect electrical connections because they can lead to hazardous situations or void your warranty.
Leveling and Stabilizing the Washer
To ensure your washing machine operates smoothly and efficiently, it’s essential to level and stabilize it properly.
Adjusting the Legs
-
Check the Level: Begin by placing a level on top of your washing machine to determine its balance. If the bubble inside the level is not centered, the washer is not leveled.
-
Adjust the Legs: Use an adjustable wrench to adjust the leveling legs at the bottom of the washer. Turn the legs clockwise to raise them or counterclockwise to lower them, depending on the unevenness of the floor.
-
Level All Sides: Make sure to level all sides of the washing machine, checking the front-to-back and side-to-side balance.
Securing the Washer
To prevent movement and excessive vibration during the wash cycle:
-
Place anti-vibration pads or mats under each of the washer’s leveling legs.
-
Anchor your washer using brackets if it’s placed in a tight space or on a slippery surface.
-
Check the level and stability periodically, especially if you frequently move or relocate your washing machine.
Washers
Browse our full selection today.
Testing and Troubleshooting Your Washing Machine Installation
Perform a thorough test to ensure everything is working correctly after installation.
-
Run a Test Cycle
-
Turn on the water supply, and check for leaks around the hose connections.
-
Plug the washing machine into the electrical outlet, and verify it powers correctly.
-
Load the washer with a small test load of laundry, following the manufacturer’s guidelines for load capacity and detergent usage.
-
Observe the washing machine during the cycle for any abnormal sounds or movements.
-
Ensure the drain hose is correctly positioned and that water flows smoothly down the drain.
-
Troubleshooting Common Problems
-
Leaks - Check all hose connections for tightness and immediately replace any damaged hoses. Ensure the drain hose is correctly positioned and securely attached.
-
Error Codes - Refer to your washing machine’s manual for a list of error codes and their meanings. Address any error codes appropriately as indicated in the manual.
-
Abnormal Noise - Common causes of unusual noises include loose items inside the drum or an unbalanced load. Make necessary adjustments for a quieter wash.
-
Water Drainage Issues - If water doesn’t drain properly, ensure the drain hose is not clogged or kinked. Confirm that the drainpipe is not obstructed and allows smooth water flow.
Seek assistance from a professional technician or the manufacturer’s customer support if you encounter persistent issues or problems beyond simple troubleshooting.
Final Thoughts
Congratulations on completing the proper installation of your washing machine! Embrace the convenience of your newly installed washing machine, and bid farewell to laundry hassles. If you’re still shopping for a dependable washing machine or other home appliances, check out our fantastic selection at Coast Appliances. Our team is ready to guide you on your appliance shopping journey. Happy washing!
How to Install a Washing Machine FAQs
Can you install a washing machine yourself?
Yes, you can install a washing machine yourself if you have basic DIY skills and carefully follow the manufacturer’s instructions.
Do you need an electrician to install a washing machine?
In most cases, no. You can typically install a washing machine yourself by following the manufacturer’s guidelines. However, it’s best to consult a professional electrician for safe installation if you’re uncertain about electrical connections or encounter any difficulties.
How do you hook up a washer hose?
Attach one end securely to the washing machine’s water inlet valve and the other to the water supply valve. Tighten properly to prevent leaks.
What plumbing is needed for a washing machine?
You’ll need a water supply line to provide hot and cold water. A drainpipe or standpipe is required to remove the used water during the wash cycle.