Purchasing new appliances marks an exciting milestone for homeowners, signifying an upgrade in functionality, aesthetics, or both. To help you have a swift experience we’ll guide you through this process seamlessly to ensure your new appliances are introduced to your home with ease and efficiency.
We’ll answer these key questions:
- Why prepare your home for appliance delivery and installation
- Preparing your house for appliance delivery: a basic checklist
- How to prepare for washer and dryer delivery and installation
- How to prepare for delivery and installation of a refrigerator, dishwasher, and range
- Communicating with the delivery team
- Post-installation inspection
- FAQs on how to prepare your house for appliance delivery and installation
Why Prepare Your Home for Appliance Delivery and Installation
Preparing your home for appliance delivery and installation is pivotal in ensuring a seamless and stress-free process.
Firstly, preparation creates a safe and accessible environment for the delivery team. This includes clearing the pathway to the installation area, removing potential tripping hazards, and guaranteeing adequate lighting. In doing so, you’re safeguarding the delivery team from possible injuries. You’re also protecting your floors, walls, and other furnishings from potential scratches or dents that may occur during the maneuvering of bulky appliances.
Furthermore, being prepared helps anticipate and address potential complications. These could include incompatible power outlets, insufficient water or gas connections, or space constraints, which can lead to costly delays. Such forethought allows the installation to proceed smoothly and timely, avoiding the inconvenience of rescheduling.
Moreover, preparation is instrumental in preventing damage to your new appliances. When the delivery route and installation area are clear, the chances of accidental dings, scratches, or other damage to your appliances are significantly reduced.
Preparing Your House for Appliance Delivery: A Basic Checklist
Before the delivery day arrives, there are several tasks you should complete to ensure a smooth installation. These include planning for the disposal of old appliances, checking the dimensions of your new appliances against available space, clearing the path and installation area, and safeguarding valuables.
• Task 1: Schedule disposal or recycling of your old appliance. Due to environmental regulations, old appliances can’t just be left out on the curb for regular trash pickup in many areas. Research local options for appliance recycling or donation.
Coast Appliances’ delivery teams can help you dispose of older items. Once you have uninstalled it, they’ll remove it and take it to our team to recycle it properly. Our sales team in-store can help you with this, or you can add it to your cart while purchasing appliances online. It only costs you $35.00 per appliance.
• Task 2: Compare the dimensions of your new appliance with its designated space and the path to it. Take note not only of the height, width, and depth of the new appliance but also the size of doorways, hallways, and stairwells it must pass through. Ensure that there’s enough space for the appliance to function properly—doors should be able to open fully, and there should be enough ventilation space.
• Task 3: Ensure the appropriate hookups are in place. Check the power requirements of your new appliance and ensure that your home’s electrical system can meet these needs. For appliances needing water or gas connections, confirm that these are functioning and accessible.
• Task 4: Clear the area where the new appliance will be installed and the pathway leading to it. This involves removing any physical obstructions and ensuring the floor can bear the appliance’s weight. Pay special attention to uneven flooring, low-hanging lights, or delicate decorations that could interfere with the delivery.
• Task 5: Secure or move any fragile items or valuables that could be accidentally damaged during delivery. Consider items such as picture frames, vases, or anything that might be knocked over or bumped into. Covering floors and corners where heavy appliances might scratch or dent surfaces is also a good idea.
How to Prepare for Washer and Dryer Delivery and Installation
Each appliance comes with its own set of installation considerations. Let’s delve into specific instructions for washers and dryers.
Washers
Ensure you have the appropriate water connections for your new washing machine. These connections include hot and cold-water valves, ideally within 4 feet of the appliance. Check that the faucets are functioning and the drainpipe is clear of any blockages. It’s also crucial to have a grounded three-prong electrical outlet within reach of the washer’s power cord, and it should comply with local and national codes.
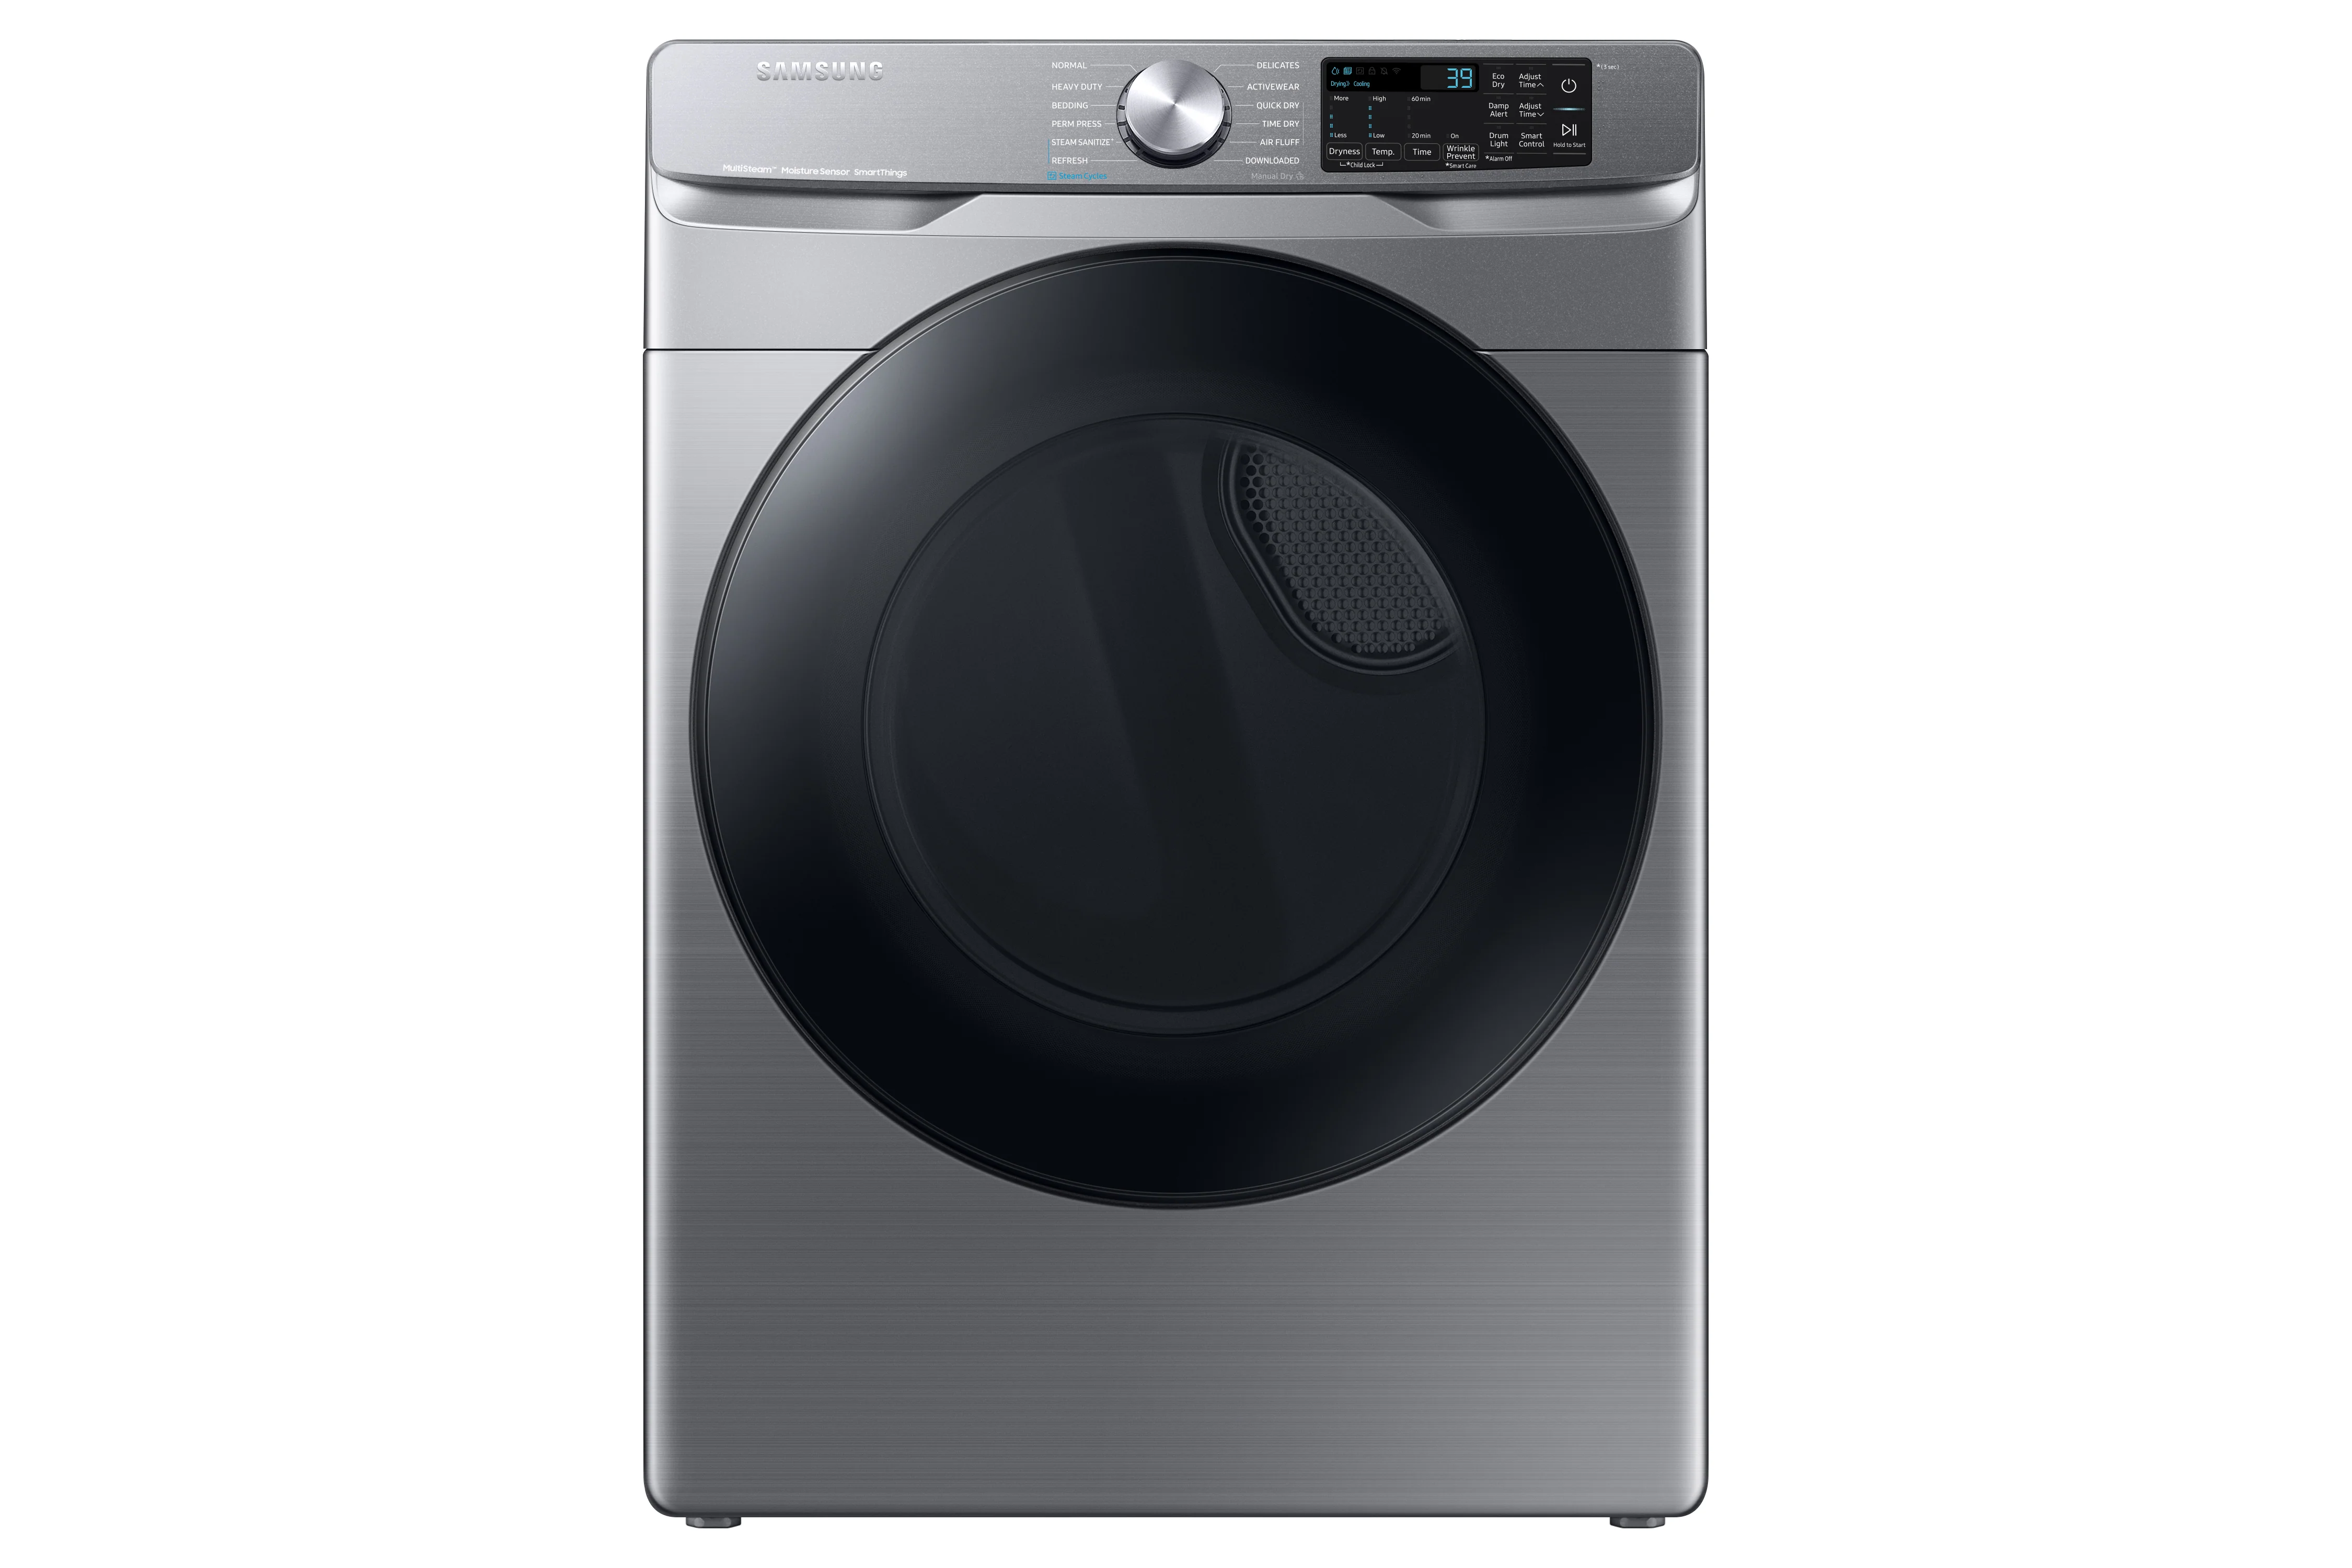
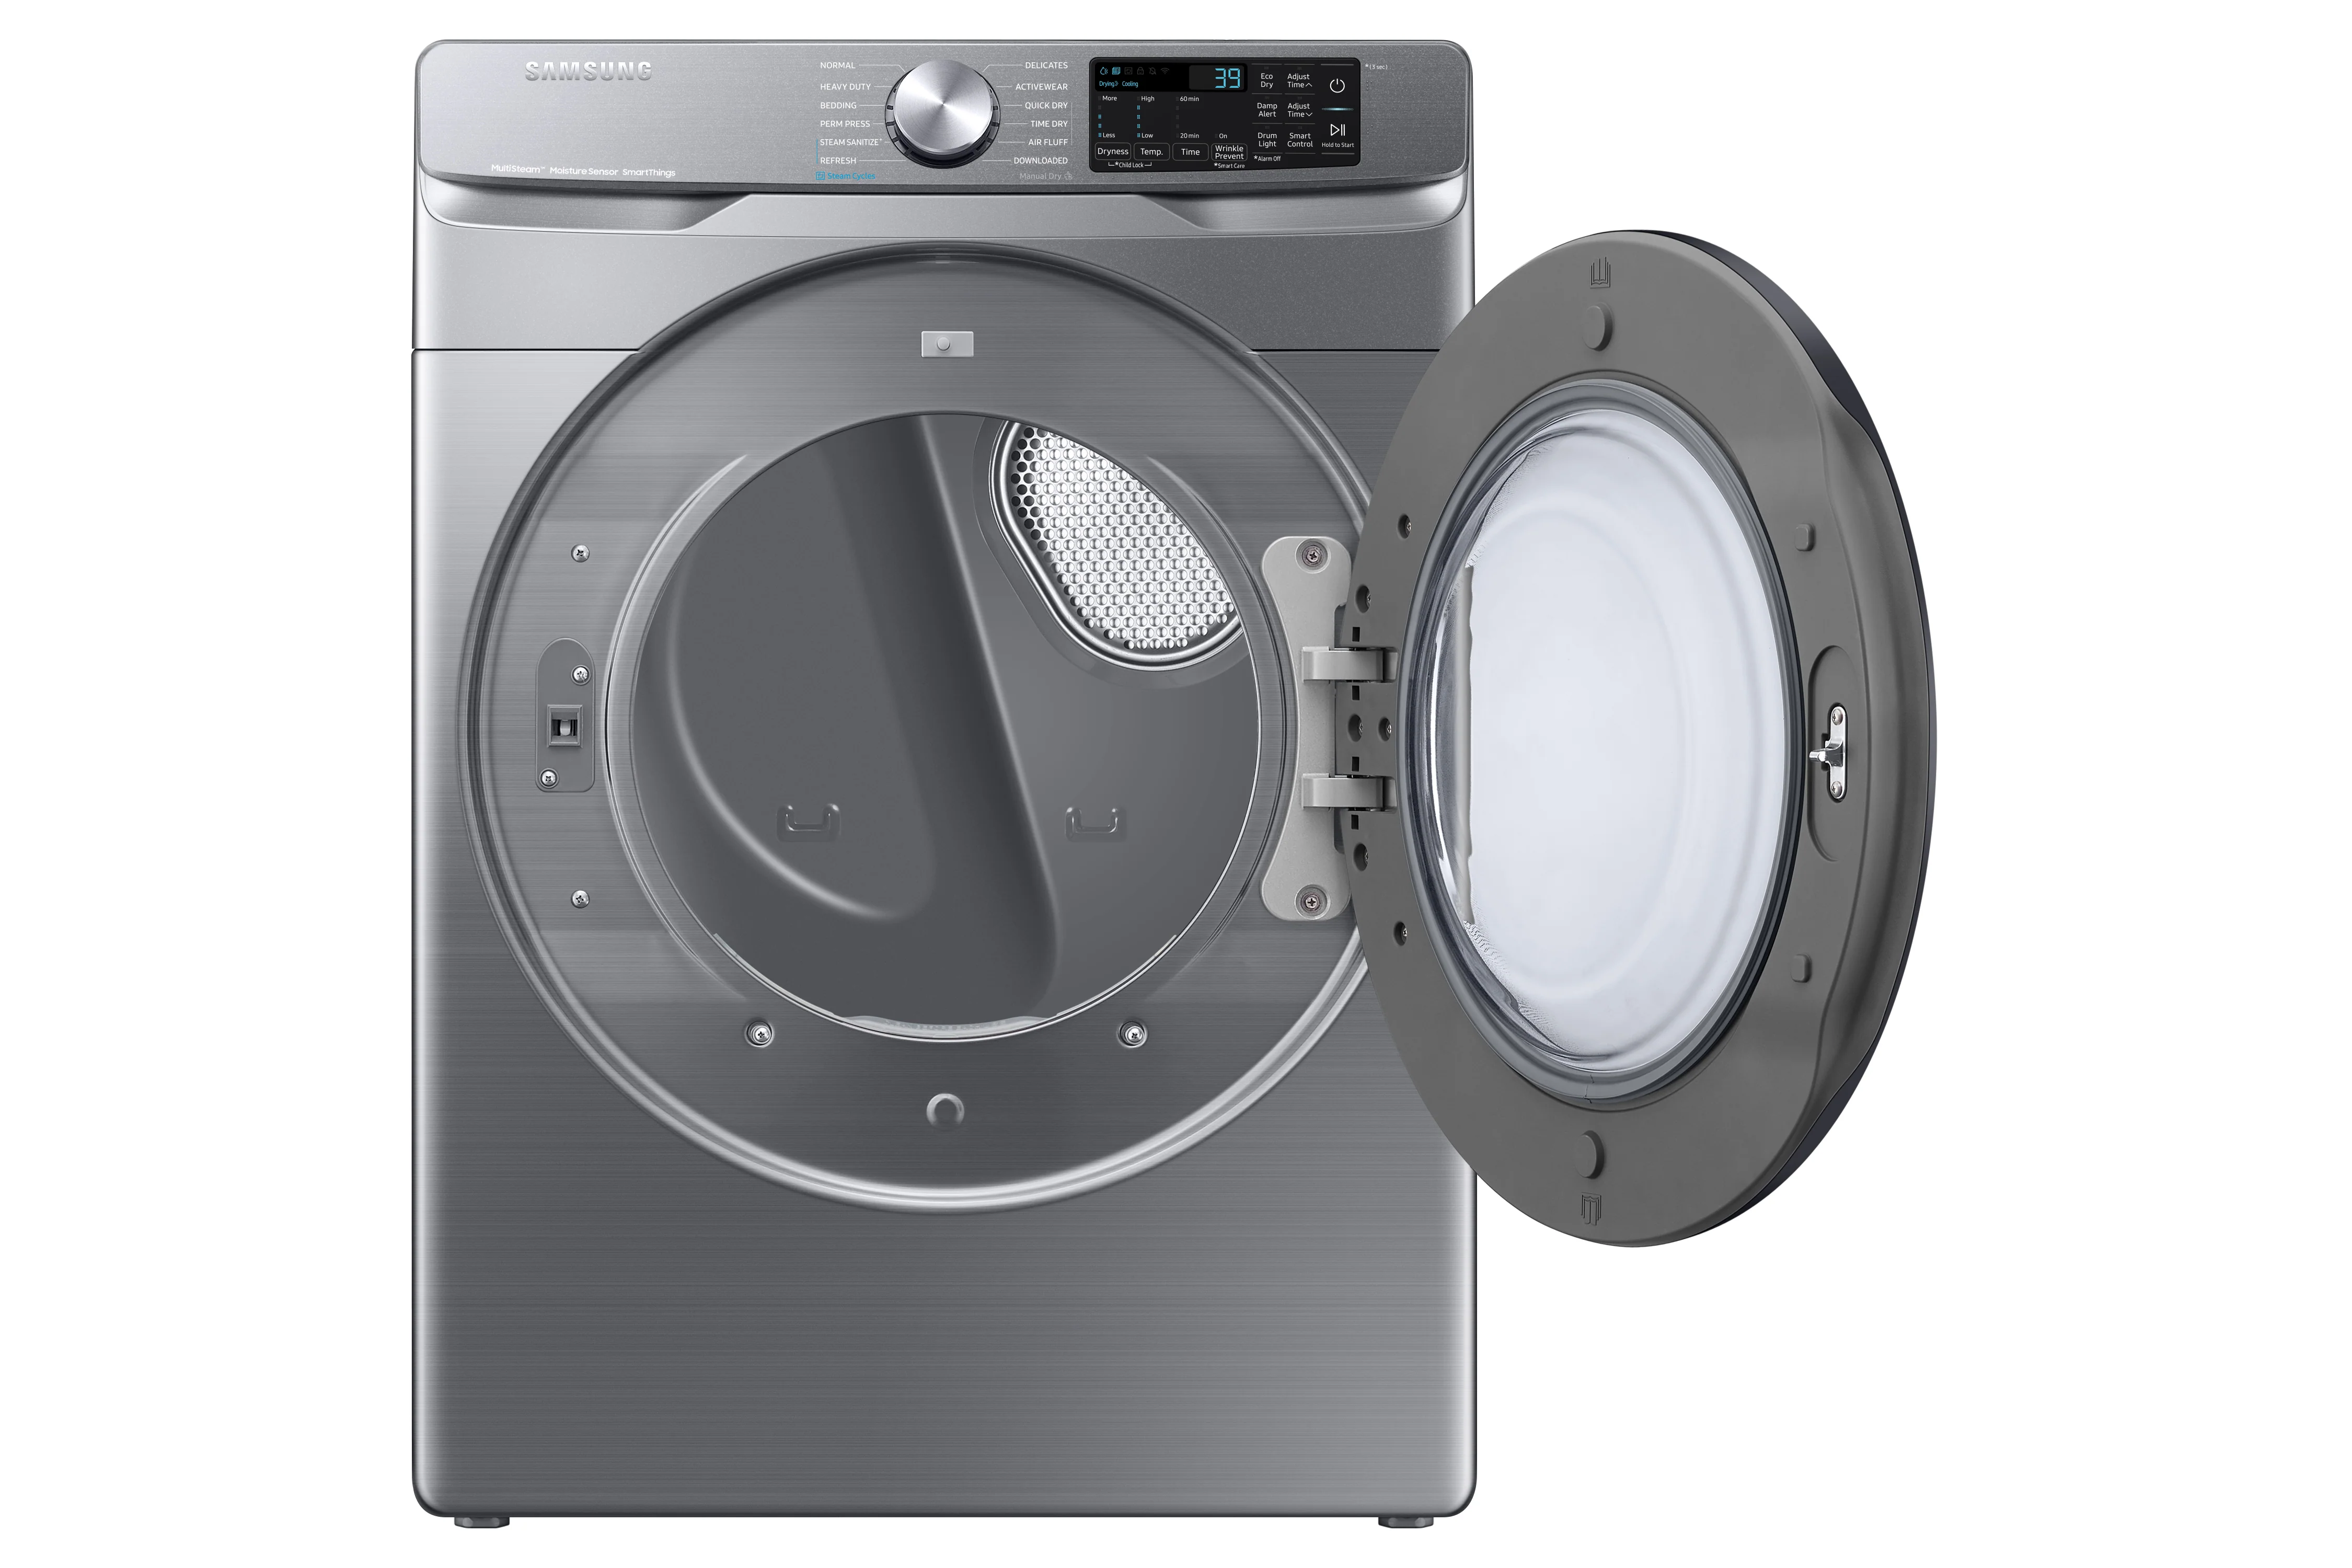
Dryers
For dryers, ensure you have a suitable electrical or gas outlet, depending on the dryer type. For an electric dryer, confirm there’s a 240V grounded electrical outlet within 2 feet of the dryer’s location. For a gas dryer, a nearby gas supply line and a 120V grounded outlet are necessary. Clear the area of any lint or debris to prevent fire hazards. Confirm the venting path is clear and matches the requirements of your new dryer.
How to Prepare for Delivery and Installation of a Refrigerator, Dishwasher, and Range
Continuing with appliance-specific instructions, let’s explore what you need to prepare for a refrigerator, dishwasher, and range delivery.
Refrigerators and Dishwashers
For refrigerators, ensure that you have a dedicated grounded electrical outlet. If the unit has a water dispenser or ice maker, you’ll need a cold-water supply line within 6 feet of the refrigerator. For dishwashers, check for access to a hot water supply, a drain connection under the sink, and an electrical outlet or junction box, all within 6 feet. Lastly, ensure there’s a pathway for venting steam, typically through an air gap fitting or a high drain loop.
Electric and Gas Ranges
Electric ranges need a three or four-pronged dedicated 240V grounded electrical outlet. Ensure the outlet is within reach of the appliance’s location and matches the plug type. For gas ranges, both a gas supply line and a 120V grounded electrical outlet should be present within 6 feet of the appliance. Consider ventilation too. A range hood or over-the-range microwave with venting capabilities is recommended to help remove cooking odors and prevent the accumulation of grease.
Communicating with the Delivery Team
Clear and effective communication with the delivery team is essential for a successful installation. Here’s a checklist of things you might need to discuss:
-
Specific Delivery Time: If your schedule requires delivery within a particular window, communicate this beforehand. Also, confirm how far ahead of their arrival you’ll receive a notification.
-
Access Points: Point out the route you’d like the team to take when delivering your appliance. This could include any specific doors they should use or any areas you’d prefer they avoid.
-
Special Considerations: If there are any unique elements about your home—narrow stairwells, low ceilings, delicate flooring—alert the delivery team to these. The same applies to condos or strata units, as you might need to notify the administrators for special preparations.
-
Old Appliance Removal: If the team is also hauling away your old appliance, make sure to clarify this and whether there’s any preparation required on your part.
-
Personal Presence: Try to be present during delivery and installation. If you can’t be there, arrange for someone reliable to oversee the process. This ensures immediate answers to any questions the team might have and lets you have control over the process.
Post-Installation Inspection
After installation, inspecting the appliance and its surrounding area is crucial. Begin by visually checking the appliance for any noticeable damage, such as scratches, dents, or broken parts. Then, ensure the appliance is sitting level and securely in its intended space. Check that all doors, lids, or drawers open and close smoothly. If it’s a connected appliance, ensure it is securely attached to the necessary electrical, water, or gas hookups and there are no leaks or loose connections.
Next, test the appliance’s functionality. This might involve running a short cycle on a new dishwasher, ensuring the burners light up on a gas stove, or making sure the refrigerator and freezer reach their intended temperatures.
Report any issues or concerns to the retailer or manufacturer immediately. Keep any warranty information, receipts, and contact information of the delivery team or installation service handy. Document any issues with photos, as these can be valuable if you need to claim warranty service or report damages to the store or your home insurance provider.
FAQs on How to Prepare Your House for Appliance Delivery and Installation
How do you prepare for refrigerator delivery?
Clear a path to the installation area, ensure the space is sufficient for the fridge’s dimensions, and check that the electrical outlet and water connection, if needed, match the refrigerator’s requirements.
How long does it take to install a new washer and dryer?
Typically, a professional can install a washer and dryer in 1–2 hours. However, it can vary depending on your home’s setup and the specific appliance.
How do I prepare for new appliances?
Prepare by clearing the installation area and pathway, checking dimensions, ensuring appropriate connections (water, gas, electrical), and communicating with your delivery team.
How much do you tip for appliance delivery?
While not required, a tip of $10–20 per person is considered a kind gesture for appliance delivery, particularly for large or complex installations. Remember, these folks are helping you make your house feel more like a home.
And once you received your appliance, here is another article we prepared to secure your investment:
Have you just bought a new appliance? Do you want to make sure it is protected by a warranty? This complete guide will show you exactly how to start the warranty registration process for the main appliance brands in Canada!